Friday, April 27, 2018

Birthday Fishes!

Hi Ai Fans!
I always find it a struggle to make masculine themed cards. No frills, no glitter, no pretty ribbon LOL! But this set from Art Impressions makes it super easy to make a male card that will sure to please that certain guy in your life! This is the "Reel Great Guys" set and comes with 5 images and 10 different sentiments!
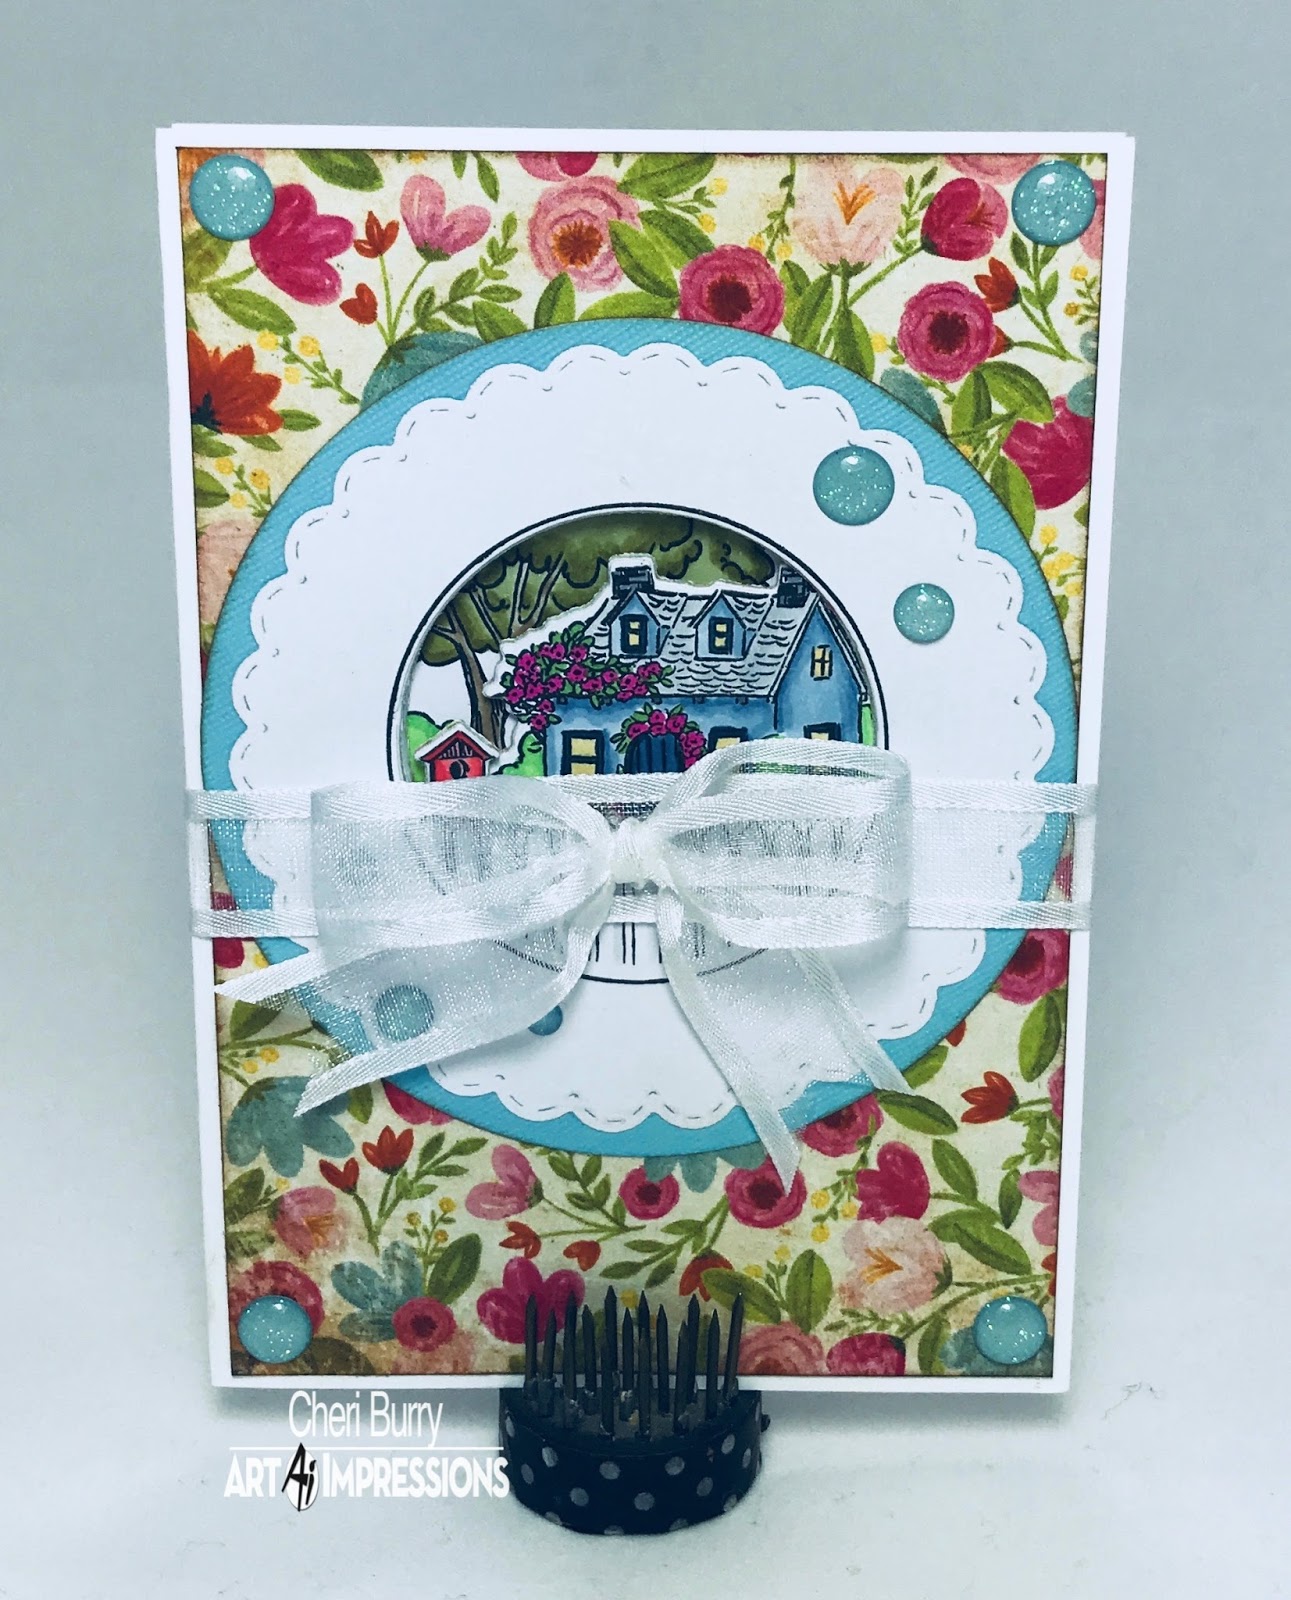
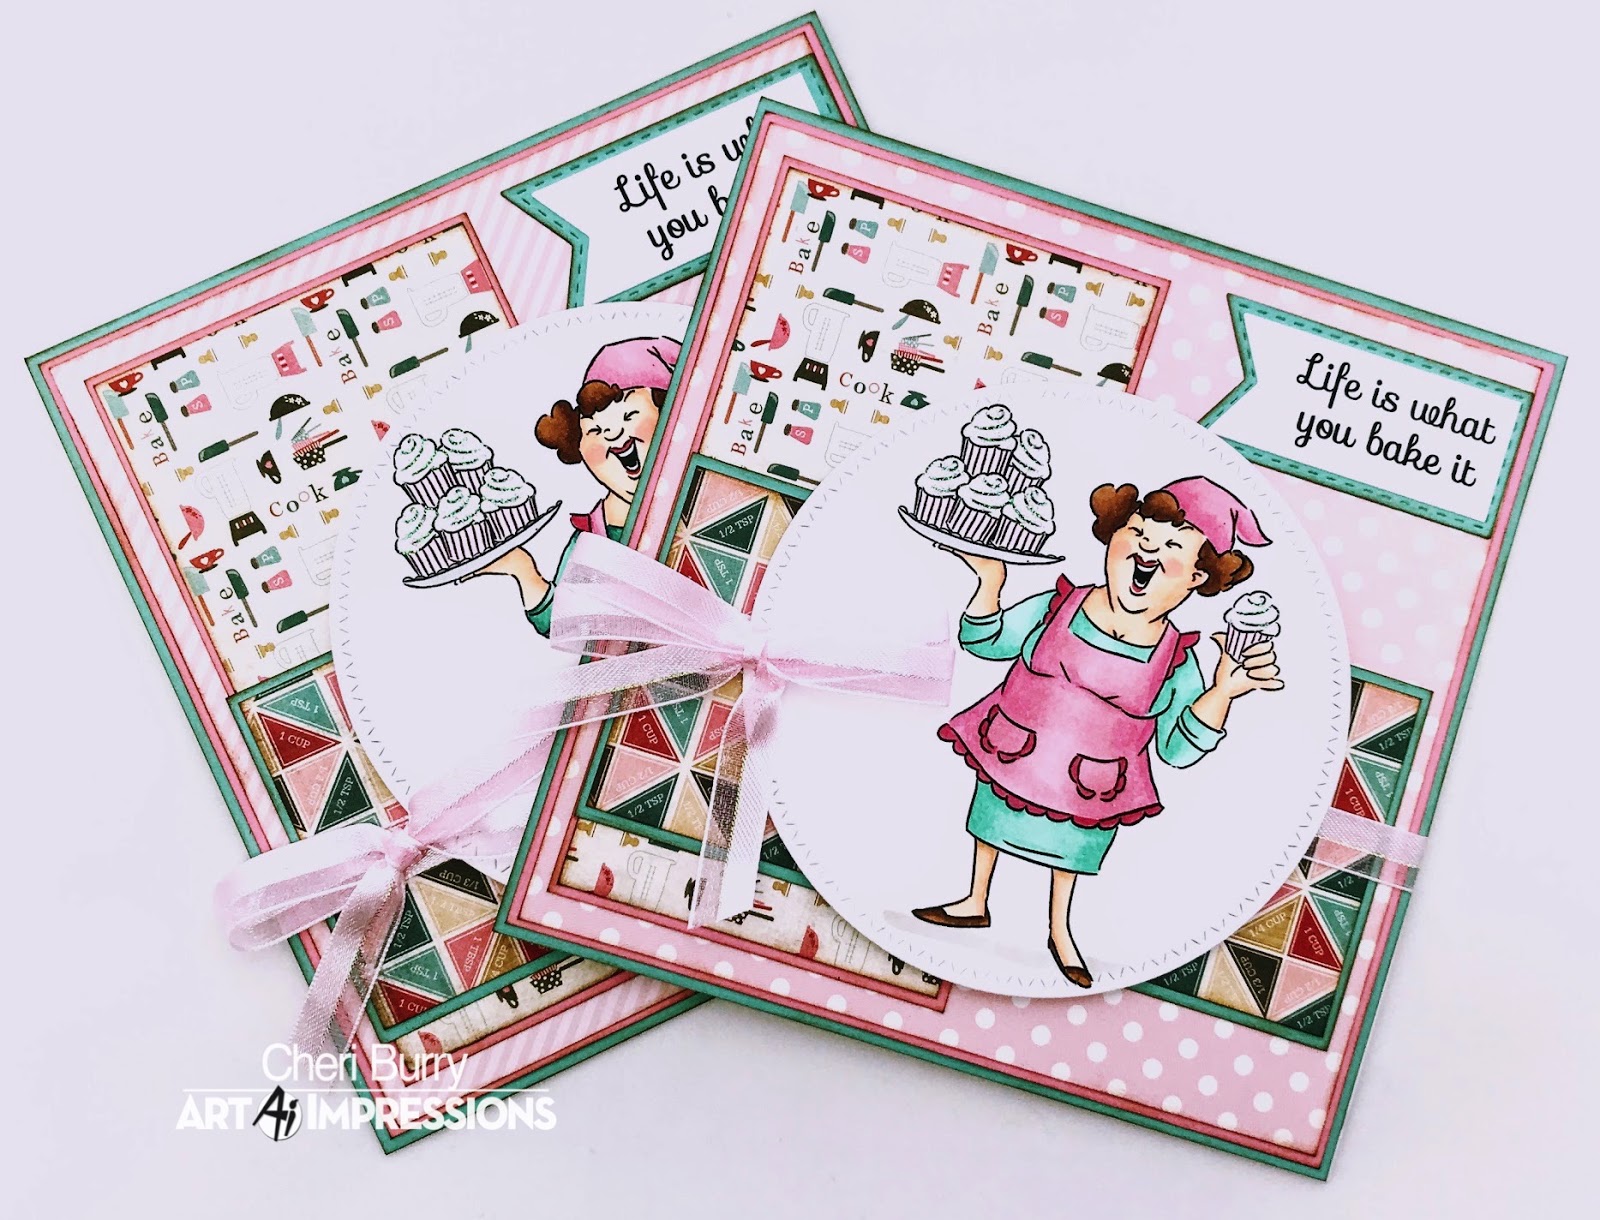
I chose papers from the Pink & Main Beach Bum 6x6 collection to make my card with. I stamped some of the smaller images to use as embellishments and cut them out with my Brother Cut N Scan. A simple layout show cases the image and popped up stamped cutouts nicely I think!
I love that you can add either this little sign or the fish to the end of the fishing line!
I find it easy to make 2 cards when I make a design, that way I can send one to the recipient and have to add to my stash! Win, win!!
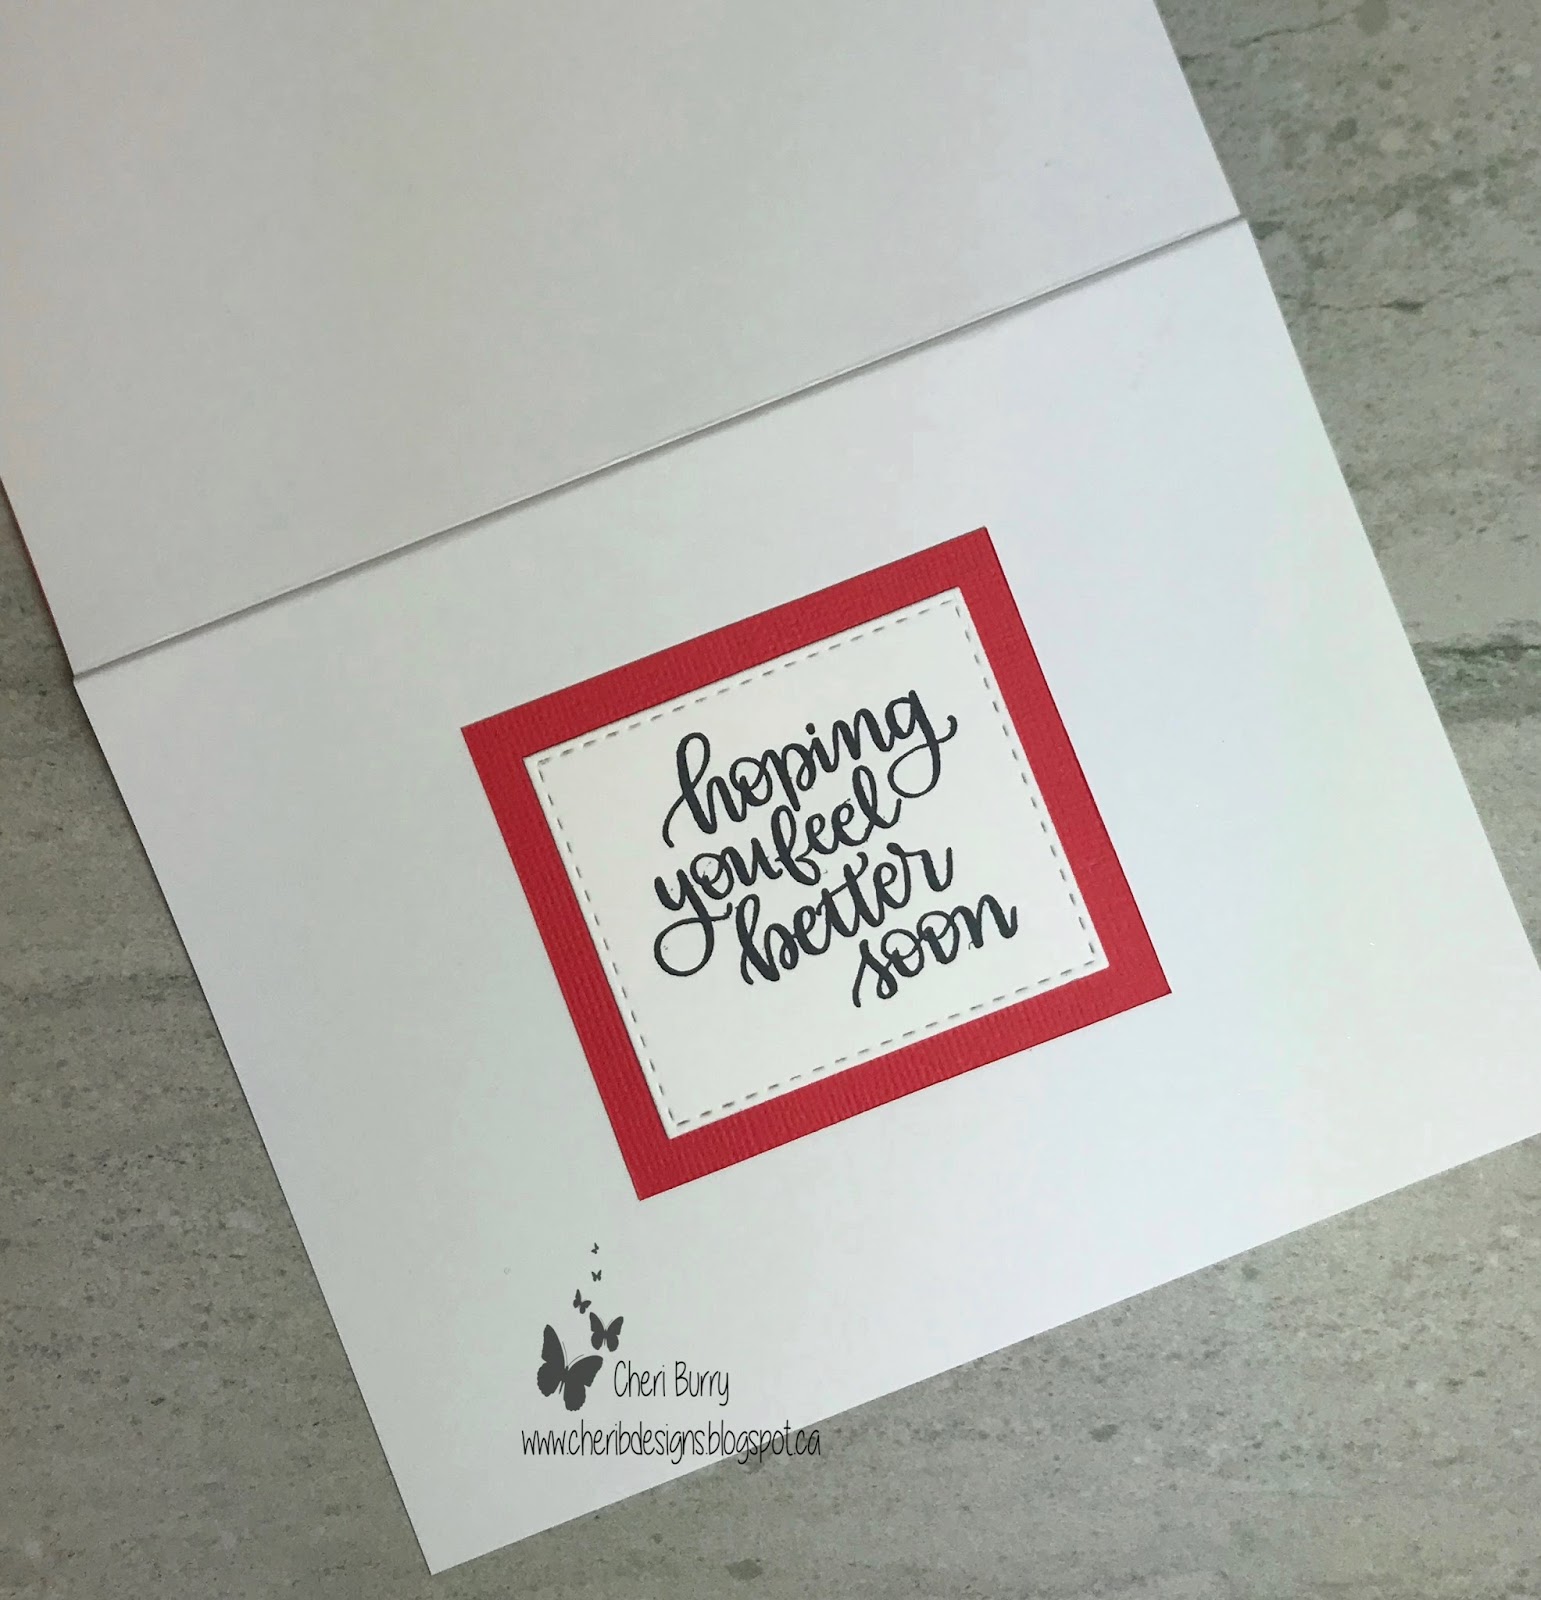
Inside decorated view.
Copics Used:
Skin: E00, E11, E21, R20
Hair: C3, C5
Vests & Hats: R35, R37, R39/ E81, E84, E87
Shirts: B95. B97, B99/ W1, W3
Boat: E43, E44, E47
Water: B000, B00, B01
Fish & Bucket: E81, E84/ C0, C2, C3
Poles: C2, E97, R35

Happy Stamping:
Supplies:

Tuesday, April 24, 2018

Garden Gnomes!

Hi HH & OCS Fans!
Today I got to play with these "3 Little Garden Gnomes" from the New "A Magical Day" Release over at High Hopes Stamps. As a child I used to love to read all about Fairies and Gnomes and part of me still believes in them! And that sentiment..... how cute is that "Chillin Gnomies"?!!
I am using papers from the Pebbles Woodland Forest 6x6 collection. I stamped the sentiment and then cut it apart to add to my card for a bit of a different look. The Mushroom Border goes perfectly with these adorable Gnomes! I used a Spectrum Noir Glitter pen on the trim of their hoods and the flower. You'll also find Glossy Accents on the magic ball.
Copics Used:
E00, E11, E21, E43, E47
R20, R21, R22, R24
Y21, Y23, Y26, Y28
YG91, YG93, YG95, YG97, YG99
W0, W3, W4, W5, W7
C0, C1
B0000, B000, B01

Happy Stamping!
Supplies:

Saturday, April 21, 2018

Hugs & Hello!

Happy Saturday!
I am really trying to use up everything that I have in my stash lately. I am so guilty of purchasing items from new releases or when I see a card with something I love on it. Then when I get my "Happy Mail" it goes into a bin I call "New, never used". And it piles up and gets ignored sitting there on the corner of my Desk.  These cuties have been in my bin for a while now and I am so happy I got them out and played with them. 
This is my fist attempt at an Eclipse card and I can see more in my future, I just loved making it. I masked off the Petunias to create a flower border, then cut out the word "hugs" and popped the letters up with foam tape. Then I added my Hummingbirds to my card. I added Crystal Stickles to the Hummingbirds heads for a glitter effect.
The inside sentiment is from Simon Says Stamp called "Handlettered Encouragement New Beginnings".
On this card I decided to colour the Hummingbirds in a fun colour. I made the background by embossing the Your Next Stamp "Mini Flower Ink Splatter" several times on the background. Then using Distress Oxide ink I blended out some coordinating colours and added a few spritzes of water. After die cutting the coloured birds I popped them up with foam tape and added a die cut "Hello".

Copics Used:
Hummingbirds: R35, R37, R39 / YG91, YG93, YG97
BG00, BG01, BG02, BG05, BG07, BG09
Flowers: R30, R32, R35, R37, R39 / YG61, YG63, YG67

Happy Stamping!

Supplies:

Friday, April 20, 2018

Perfect Duet Set!

Hi Ai Fans!
Today is about this cute Dancing duo from the Art Impressions stamp set called "Perfect Duet"! I hope my Husband and I never stop dancing until we physically can't dance anymore! And by the way..... we dance about as good as we sing but who cares LOL!
Today I am using papers from the Echo Park "I'd Rather Be Crafting" 6x6 collection! This is one of my favourite layouts to do. You can layer different papers for a fun look! I used my Brother Cut N Scan to "fussy" cut out my image and popped them over the circle using foam tape! Some Matching enamel dots finish it all off!
Copics used:
E00, E11, E21, R20
C1, C3, C4, C6
R21, R22, R24
BG11, BG23, BG34, BG72, BG75

I hope you dance like no one is watching!
Happy Stamping!

Supplies:

Thursday, April 19, 2018

Cottage Circlet!

Hi Ai Fans!
It's the second week of the "Good Goes Around" Challenge over on the Art Impressions Blog and the New Release of the "Circlet Mini Tryfolds". I am using the "Cottage Circlet MTF" Stamp set today.
I started by using one of the Ai Tryfold card bases . I added my Designer paper from the BBP Vintage Lace collection and then die cut a scalloped stitched circle with my stamped image on it. I added a blue circle behind it. First I cut the circle layers with the dies included. Then I glued them down and cut through the patterned paper and card base. It was really easy to line up all three images with the cut out parts.
I added a few enamel dots on the front for some added interest.
Here's the second layer to the card.
And the inside layer

These cards are fun to make and give your recipient a bit of a different type of card to open than usual!

Copics Used:
E21, E43, E44, E47
YG05, YG09, YG17, YG21, YG93, YG95, YG97
R22, R24, RV06
B000, B91, B93, B95, B99
C1, C2,  C4, C5, C7

Happy Stamping!

Supplies:

Tuesday, April 17, 2018

Magical Moments!

Hi HH & OCS Fans!
Today I wanted to share with you my very first "Z Fold" card!  The card is cool as if folds flat but then........
When you open it up it reveals more card and stands up really well with the "Z fold". I thought these 2 sweet little images would pair so cutely together! I am using the High Hopes  "Little Wizard" and "Wizard In Training".
I decided to pull out some Halloween papers from the Doodlebug Boos & Brews 6x6 collection to use today! I thought they were perfect to match the theme of my card! I added the HH "Magical Moments" sentiment. This card was fun and so easy to make! I followed along with a video tutorial you can find HERE.
Here you get a better view of the "Z" and the way you can decorate the card.
Copics Used:
Skin: E00, E11, E21, R20
Hair & Boy's robe: E21, E23, E25/ YG21, YG23, YG25, YG17
Boy's cloak: W4, W5, W6, W7
Girl's cloak: V05, V06, V09
Orange: YR14, YR16
Book: C0, C0
Owl: E43, E44

Happy Stamping!
Supplies:

Saturday, April 14, 2018

Rosie Cupcake!

Hi DDS Fans!
Just popping in to share with you a card I made using the Digi Doodle Studios digital stamp called "Rosie Cupcake".
I decided to make the card base in the shape of a cupcake and went to the Silhouette Store to find just that! After I cut the base and pieces with my Silhouette Electronic Cutting Machine, it was easy to just assemble it. Then I coloured "Rosie" with my Copic Markers and fussy cut her out. I added some foam tape on her to pop her up on the cupcake. I also used Vintage Photo Distress Ink on all the edges of my papers for extra dimension!
Copics Used:
Skin: E00, E53, BV00, R20
Hair: E43, E44, E47, E49
Pinks: R81, R83, R85, R89
Greens: BG90, BG93, BG96, BG99
Yellows: Y21, Y23, Y32
Icing: C1, Nuvo Drops Carnation Pink
Happy Stamping!
Cheri

Supplies:

Friday, April 13, 2018

Life is What You "Bake" It!

Hello Ai Fans!
Thanks for stopping by today to see my card I made for my DT post over at Art Impressions! I am using the "Whisk It" set! There is just so much versatility with this set of 7 images and 8 sentiments!
I am using paper from the Carta Bella "Home Sweet Home" 6x6 collection! Perfect papers for a baking themed card! I inked all the edges of my papers with Vintage Photo Distress Ink. Some tickles on the cupcakes and a pretty pink bow finish everything off!
Copics Used:
Skin: E00, E11, E21, 20
Hair: E23, E25, E27
Apron & Hat: RV32, RV34, R81
Dress: BG11, BG23, BG34
Cupcakes: RV01, RV02, C1

Happy Stamping!
Supplies:

Tuesday, April 10, 2018

Wizarding Gnome!

Hi HH & OCS Fans!
I wanted to share this CAS card I designed with you today! I am using the "Wizarding Gnome" from the New Release over at High Hopes Stamps called "It's A Magical Day".
My design is really simple with no Designer paper today. All I did was create a mystical night sky using some Tim Holtz Distress Inks. I blended all the colours together and then sprayed it with a bit of water. Once I heat set that, I use a paintbrush and splattered some Copic Opaque solution onto it. Using a Spellbinder Labels 18 die, I then just cut out my shape and popped up my image onto it. I added the High Hopes sentiment called "Dream Big" right onto my card base using my MISTI for perfect placement! I used a Whimsy FAdoodles stamp set to add some interest in the corners. A bit of Yellow Stickles and everything was done.
Copics Used:
E00, E11, E21
V05, V06, V09
W1, W3, W4, W5, W6, W7
Y35, Y38
C00, C01

Happy Stamping!
Supplies:

Saturday, April 7, 2018

Turnabout Stamp set!

Good Morning!!
I've had this stamp set in my bin of "new stuff" for a while now and finally had some time to play around with it! This is the Concord & 9th "Dahlia Turnabout" stamp and "Dahlia Turnabout Die" set. I love how easy it was to make these cute cards that will become a gift set for someone special!
I watched a Jennifer McGuire video on how to use them (click here) and once you get the stamp and die prepped, off you go to create beautiful images. I am also trying out my new Catherine Pooler Inks and I have to say they are really juicy and stamp amazingly!
I used the die on 2 of the cards and popped the image up with foam tape. I added some sentiments from my stash of dies, cutting them 3 times and adhering together for more dimension.
On these 2 cards I added some Spectrum Noir Glitter pen to some of the petals. My only disappointment was that the glitter changed the ink colour. I didn't realize the ink is reactive with water so I think I should have heat set it first. But I still love them!!


Thanks for stopping by today!
Happy Stamping!

Supplies: